Launch Aviatrix Controller Manually
Aviatrix Controller should be launched by CloudFormation script following the AWS Getting Started Guide.
The method below has been deprecated. It is kept here for record only.
Before you launch the controller with IAM role, you must first create 2 IAM roles and its associated policies. Follow this link to have them setup. Then go to https://aws.amazon.com/marketplace, search for “Aviatrix” and select the image type you wish to launch.
You need a customer ID from Aviatrix
for launching gateways. Send email to info@aviatrix.com or open a support
ticket at Aviatrix Support Portal (https://support.aviatrix.com) to request
a customer ID.
Customer ID is not needed if you select utility images such as “5 Connections” and “10 Connections”.
At the AWS marketplace console, select “Manual Launch” that takes you to EC2 console to launch with IAM role. Once you select Manual Launch, click at a region where you wish to launch the controller.

Once you are at AWS EC2 console, follow the steps below:
Select the instance size “t3.large” of 8GB of memory, which is the minimum instance required.
Select the VPC where the controller will be launched.
Subnet. Make sure the subnet you select is a public subnet with IGW as its default gateway, otherwise the controller will not be accessible as it won’t have a public IP address.
Enable IAM role by selecting “aviatrix-role-ec2” you created earlier, as shown below

Edit security groups to allow inbound TCP port 443 open to anywhere, as shown below:

Use an Elastic IP address for the controller.
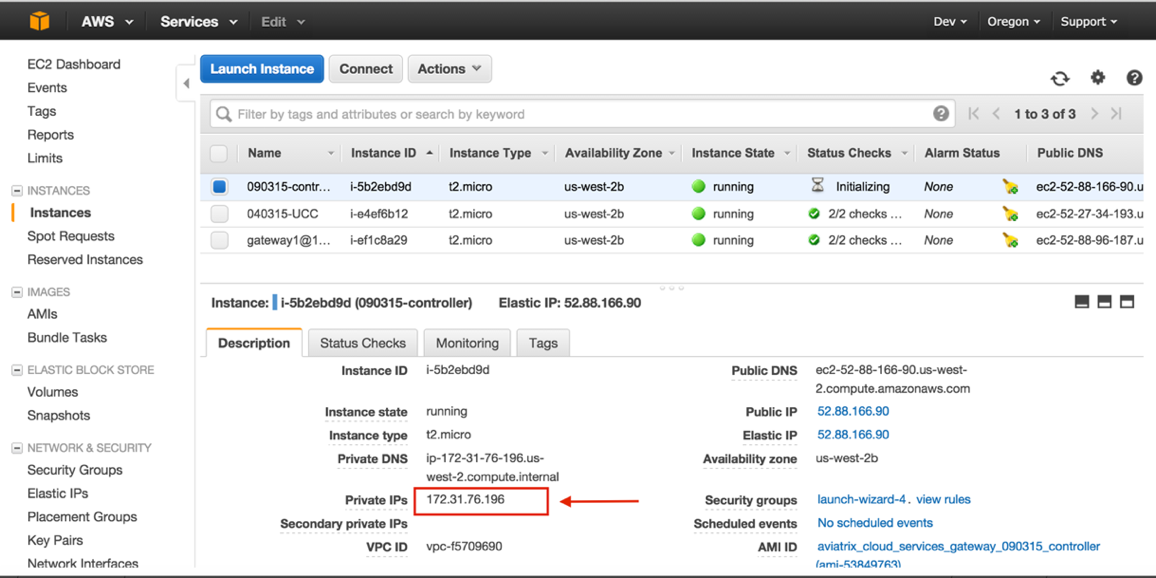
After launching the instance, note down the instance’s Private IP address and Public IP.
Use a browser to log in to the console.
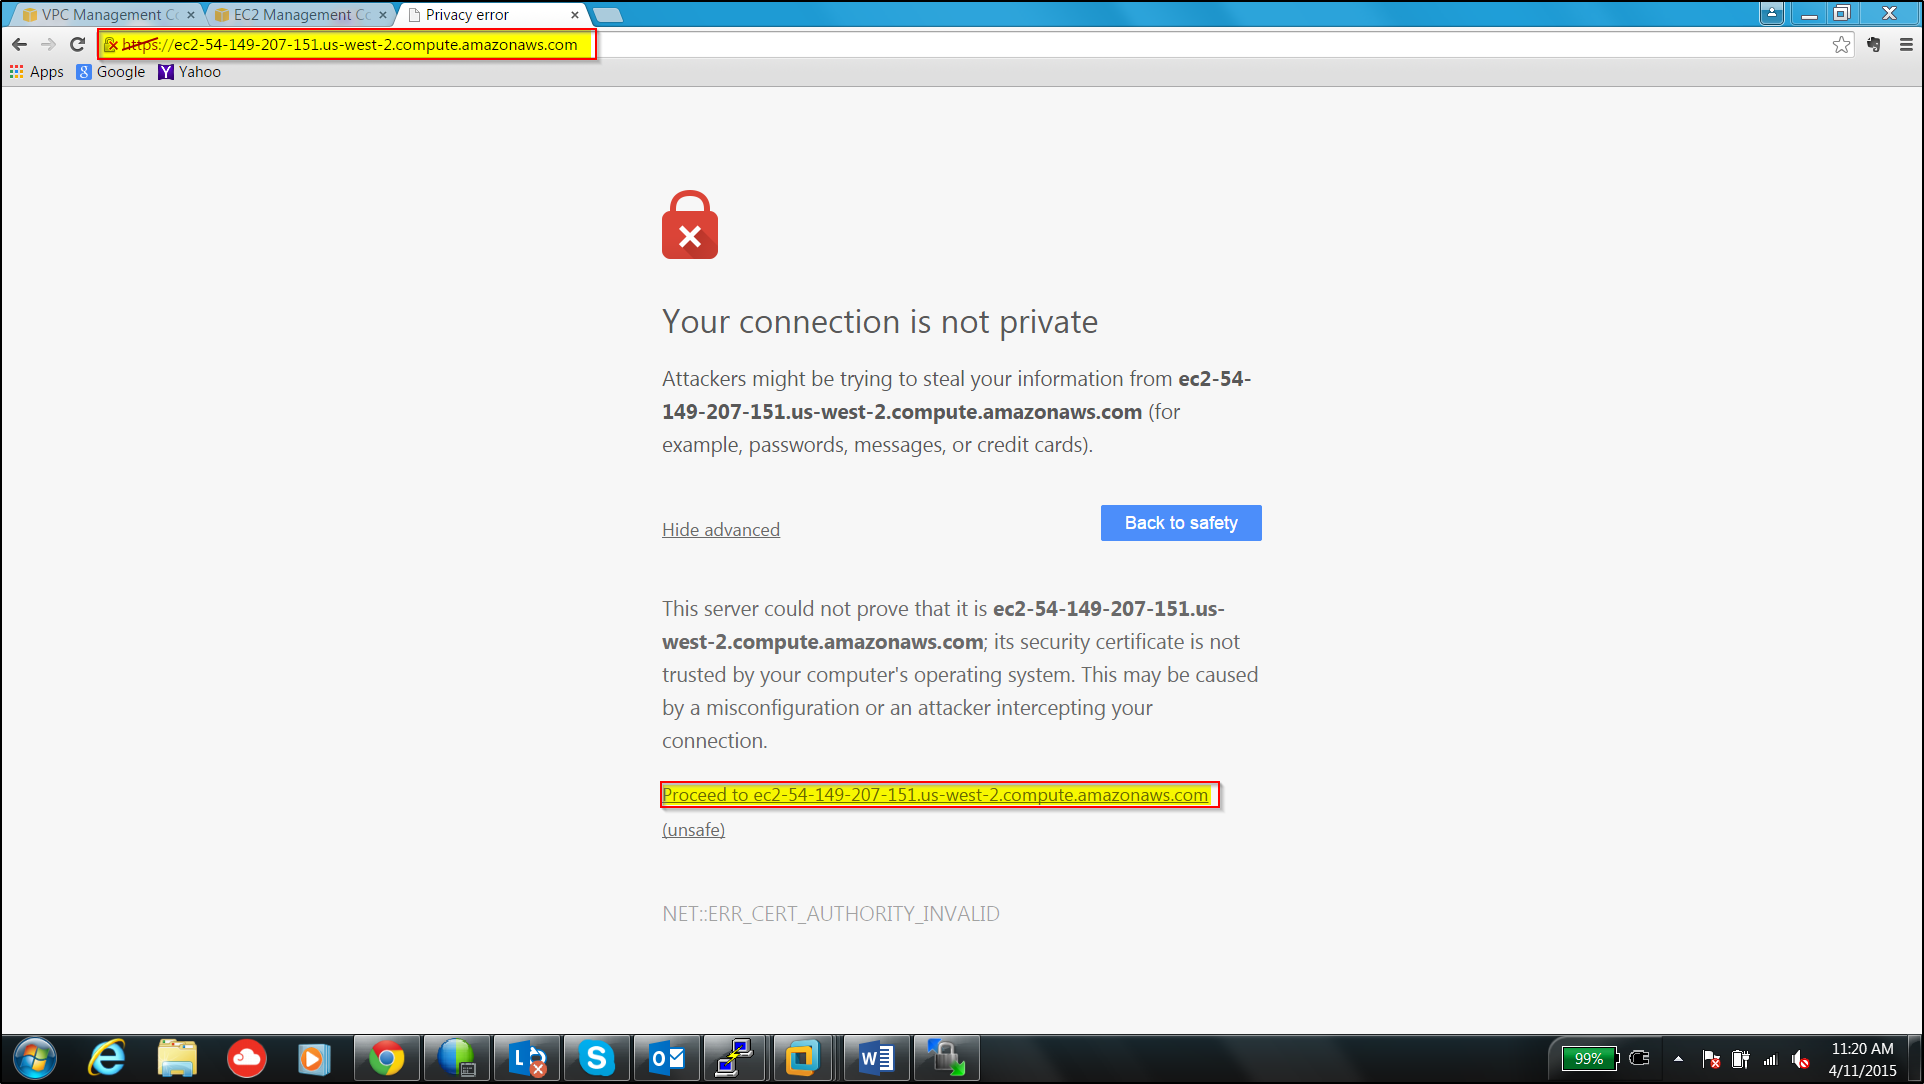
Use a web browser, go to https://controller_Public_IP to access the controller console, as shown below.
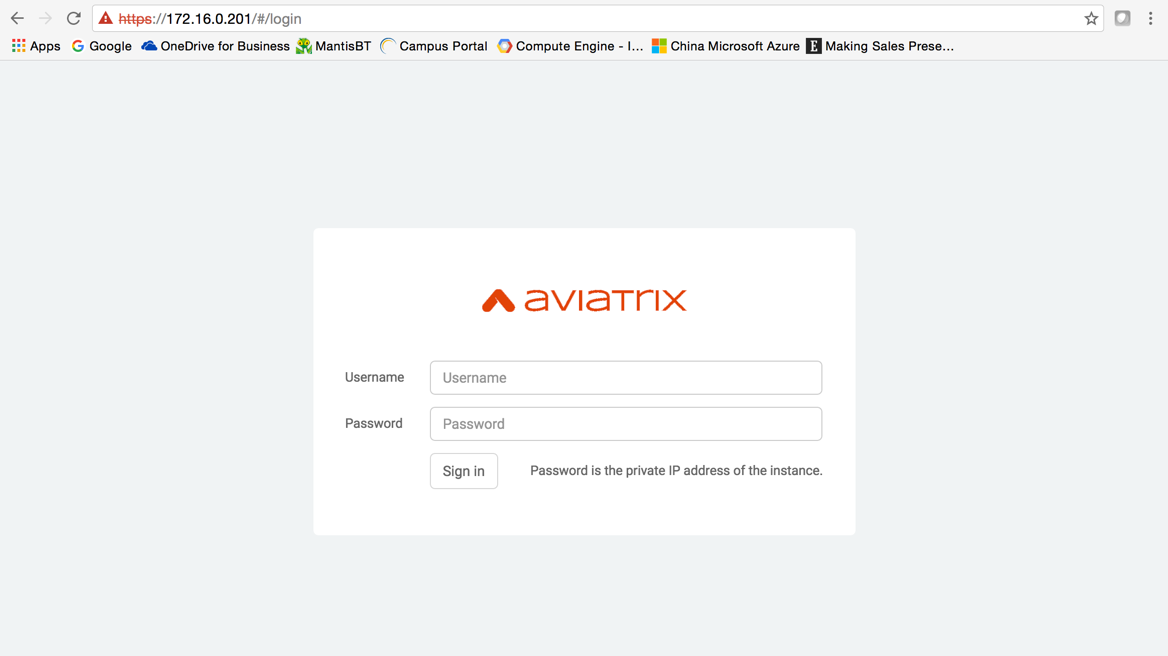
At the Sign In page, log in with username ‘admin’. The default password is the instance’s Private IP address. You can retrieve the Private IP address from the AWS console instance panel, as shown below.
Once you are logged in, change your password for future accesses via the console.
Go through the initial installation of software.
After the installation is complete, log in again to the controller by typing at the browser:
Troubleshooting tips:
If you experience ‘Login timeout error’, check your instance outbound security policy to make sure it opens on port 443.
If you cannot find your instance’s public IP address, you may have launched the instance from a private subnet. The controller instance must be launched from a public IP address.
The controller needs to have its inbound port 443 open to AWS address ranges as Aviatrix gateways need to communicate to the controller on this port.
Please open a support ticket at Aviatrix Support Portal. Enjoy!