Deploy CoPilot from the Marketplace
You can deploy CoPilot from the cloud provider marketplace. This method is commonly used for single node use cases right after subscribing. The marketplace deployment method is not supported for a fault-tolerant (clustered) deployment.
| You can only use Terraform scripts or Aviatrix Controller user interface for fault-tolerant(clustered) deployments |
Subscribe to a CoPilot Offer in the Marketplace
Subscribe to the "Aviatrix CoPilot" AMI in your cloud provider marketplace. You must accept terms and conditions before you can provision and launch the VM for the CoPilot instance.
CoPilot works in tandem with Aviatrix Controller to provide visibility into your cloud resources managed by the controller. It is assumed that you have a Controller customer ID for your existing Controller.
If you want to enable the latest CoPilot add-on features such as CostIQ and Aviatrix Billing, you must subscribe to and accept terms for the Aviatrix Secure Networking Platform 2208-Universal 24x7 Support subscription offer in your cloud provider marketplace. See Aviatrix Secure Networking Platform 2208-Universal Subscription.
In addition to having a Controller customer ID, you must also accept terms and conditions for an Aviatrix CoPilot offer in your respective cloud marketplace before you can provision and launch the VM for the CoPilot instance.
Prerequisite tasks for instance launching from the marketplace
Make sure you read through the requirements listed in Planning Your CoPilot Deployment. Each marketplace will prompt you to configure and launch the CoPilot software.
For CoPilot instance (VM) configurations and launch requirements, note the following:
-
(VM Sizing)
-
For the minimum supported instance/VM size for CoPilot, see Minimum Instance (VM) System Requirements for CoPilot.
-
-
(Storage)
-
You must attach at least one data disk (data volume) to your CoPilot instance to be used for expandable storage; this is a secondary data storage separate from the root disk that comes with CoPilot. For more information, see CoPilot Disk (Volume) Management. You can choose the disk type (volume type) that meets your business needs given the size of your environment.
-
-
(Static Public IP Address)
-
CoPilot requires a static public IP address (for example, an Elastic IP address in AWS). The only exception is if you are using private mode.
-
-
(Service Ports)
-
Copilot requires the following service ports:
-
TCP port 443 from anywhere user access (to reach CoPilot via HTTPS connection using web browser)
-
UDP port 5000 (default) — Enable Syslog for CoPilot Egress FQDN & Audit Data (from each gateway). Gateways send remote syslog to CoPilot.
-
TCP port 5000 (default) — For private mode, enable Syslog for CoPilot Egress FQDN & Audit Data (from each gateway). Gateways send remote syslog to CoPilot.
-
UDP port 31283 (default, port is configurable) — Enable Netflow for CoPilot FlowIQ Data (from each gateway). Gateways send Netflow to CoPilot.
-
-
(Internet Access)
-
CoPilot requires Internet access. You must select a subnet (availability zone) with outbound Internet access when specifying the subnet for each CoPilot instance. This is also true if you are using private mode.
-
-
For the Pre-6.8 Controller releases only:
-
In your cloud console, in the security group page of your CoPilot VM/instance, add entries FOR EACH of your Aviatrix gateways:
-
For the UDP ports, change the default inbound rule of 0.0.0.0/0 to the
- IP addresses of your Aviatrix gateways
-
-
Open your CoPilot Security Group for UDP 31283 from all of your Aviatrix gateways.
-
Open your CoPilot Security Group for UDP 5000 from all of your Aviatrix gateways.
-
For port 443, you can allow only your and other trusted user’s IP addresses.
-
|
Each time you launch a new gateway from your controller, you must also add a CIDR entry for it here. |
|
Starting from Controller 6.8, you can enable the CoPilot Security Group Management feature to allow your Controller to open CoPilot access to the above ports for all of your Aviatrix gateways. You enable the feature in Controller > Settings > CoPilot > CoPilot Security Group Management. See CoPilot Security Group Management. |
-
IAM Role
-
Verify that your Controller instance (Access Account) has the IAM role
aviatrix-role-ec2attached to it. Make sure theaviatrix-app-policypolicy has been added to theaviatrix-role-ec2role in order to make sure you will be able to migrate your CoPilot data in the future if necessary. See details about IAM roles in AWS IAM Overview.
-
Provision and launch your CoPilot instance from AWS marketplace
After following the steps in Subscribe to a CoPilot Offer in the Marketplace, follow these steps to provision the VM and launch your CoPilot instance from the marketplace.
-
In the marketplace, click Launch new instance from the Aviatrix CoPilot tile.
-
Select the most recent version under the Software version.
-
Select the region in which you want to deploy your CoPilot instance.
-
After specifying all values for the marketplace configuration prompts, click Continue to Launch to deploy/launch the CoPilot instance/virtual machine.
-
Specify the settings for the CoPilot instance. Choose one of the launch actions from the drop-down box.
-
Launch through EC2
-
Click Launch.
-
Specify the EC2 settings. For the requirements about VM sizing, storage, static public IP address, service ports, see Planning Your CoPilot Deployment
-
Click Launch instance.
-
-
Launch from Website
-
Choose instance type. See Planning Your CoPilot Deployment for the minimum requirements.
-
Specify the EC2 instance settings. Such as, the VPC settings, subnet settings, security group settings, Key Pair Settings, etc.
-
Click Launch.
-
You should receive a message from the cloud provider stating that the instance of CoPilot software is deployed/launched successfully.
-
-
Assign a static public IP address to the CoPilot software instance/virtual machine. For example, in the AWS EC2 console, you would go to the Elastic IP section, allocate a new EIP, and then associate it with your CoPilot instance.
-
After the instance is created, and you receive a message that your deployment is complete. Click the copilot instance name and take note of its External IP address.
-
Go to your Controller instance in your cloud service provider. Add your CoPilot IP address into your Controller security group with TCP protocol and port 443 on the cloud service provider so that CoPilot server can communicate with Controller API.
-
You are now ready to launch CoPilot in a web browser and perform initial setup. See Initial Setup of CoPilot.
Provision and Launch your CoPilot Instance in Microsoft Azure Marketplace
To deploy CoPilot in Azure:
-
Log in to your Azure account with your Azure account credentials so that you enter your Azure Portal (portal.azure.com).
-
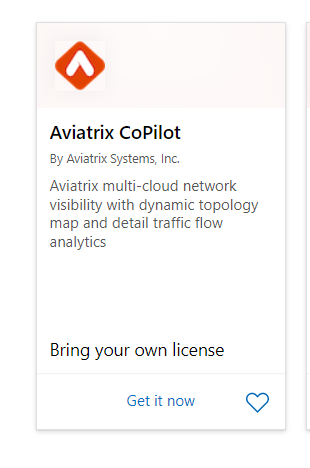
Go to the Azure Marketplace at https://azuremarketplace.microsoft.com, and in the search field, search for "Aviatrix CoPilot".
-
For the Aviatrix CoPilot Bring your own license offer, click Get it now.

-
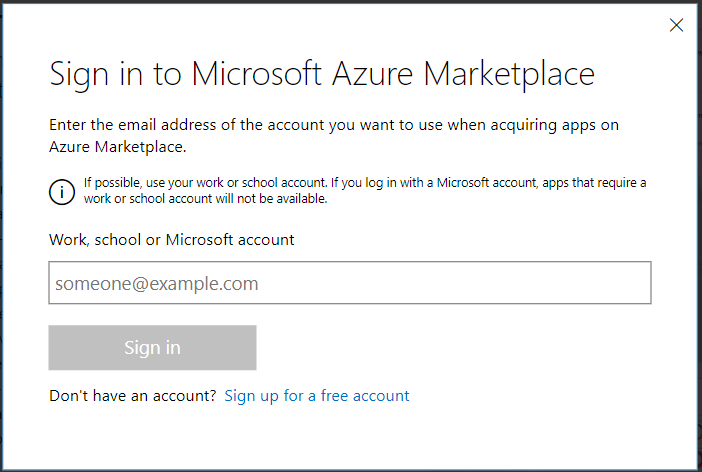
If prompted, enter the email address you use for acquiring apps on Azure Marketplace.

-
In the "Create this app in Azure" dialog, click Continue.
-
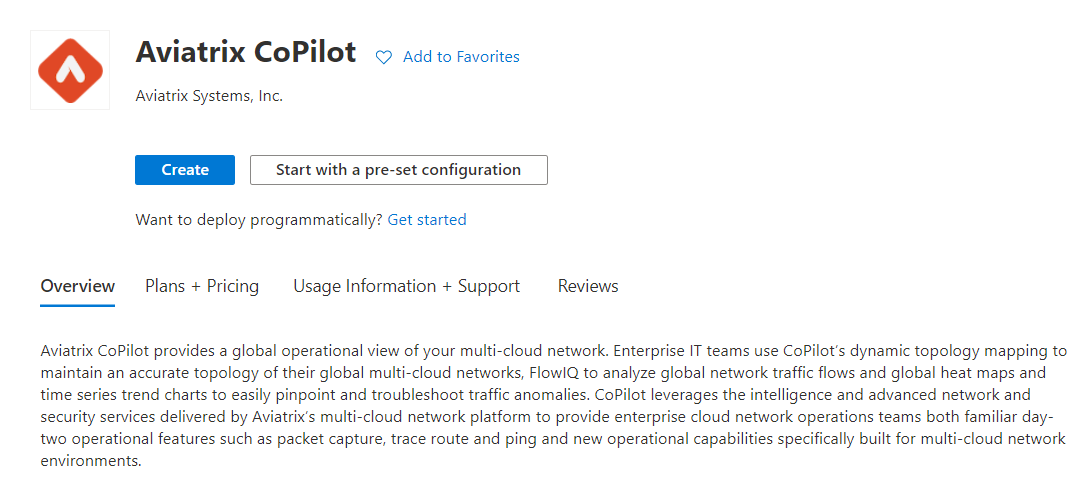
In the Aviatrix CoPilot page, click the blue Create button. If you want to view Azure recommended size choices, click "Start with a pre-set configuration". Do not choose the "Deploy programmatically" option.

-
In Create a virtual machine, complete the provisioning steps for the Basics section by specifying the subscription, resource group, VM name, and size values and other values as needed for the Project details, Instance details, and Administrator account details sections. Take note of the Instance (Virtual Machine) System Requirements for CoPilot. Click Next: Disks.
-
You must attach at least one data disk to your CoPilot VM to be used for expandable storage. This is in addition to the 25GB root disk that comes with CoPilot. Click Create and attach a new disk or Attach an existing disk to add and attach an additional disk.

-
Specify the disk options you want or click OK to accept the default disk options.
-
Click Next: Networking and specify the network interface details. For Public IP, click Create new. In the Create public IP address dialog, for Assignment, select Static and click OK.
-
Complete the rest of the provisioning steps for the Management, Advanced, and Tags sections.
-
Click Next: Review + create. If blank, type your phone number in the Preferred phone number field. If the validation passed, review your settings and click Create.
Verify that your instance is up and running in the Azure console.
-
After the instance is created, and you receive a message that your deployment is complete, click on Go to resource. Select the copilot instance name and take note of its External IP address.
-
Go to your Controller instance in your cloud service provider. Add your CoPilot IP address into your Controller security group with TCP protocol and port 443 on the cloud service provider so that CoPilot server can communicate with Controller API.
-
You are ready to launch CoPilot in your web browser and perform initial setup. See Initial Setup of CoPilot.
Provision and launch your CoPilot instance in Google Cloud Platform
| It is recommended to deploy CoPilot based on the latest CoPilot image release. For information about Aviatrix CoPilot image releases, see Aviatrix CoPilot Image Release Notes. |
To provision and launch your CoPilot instance in GCP:
-
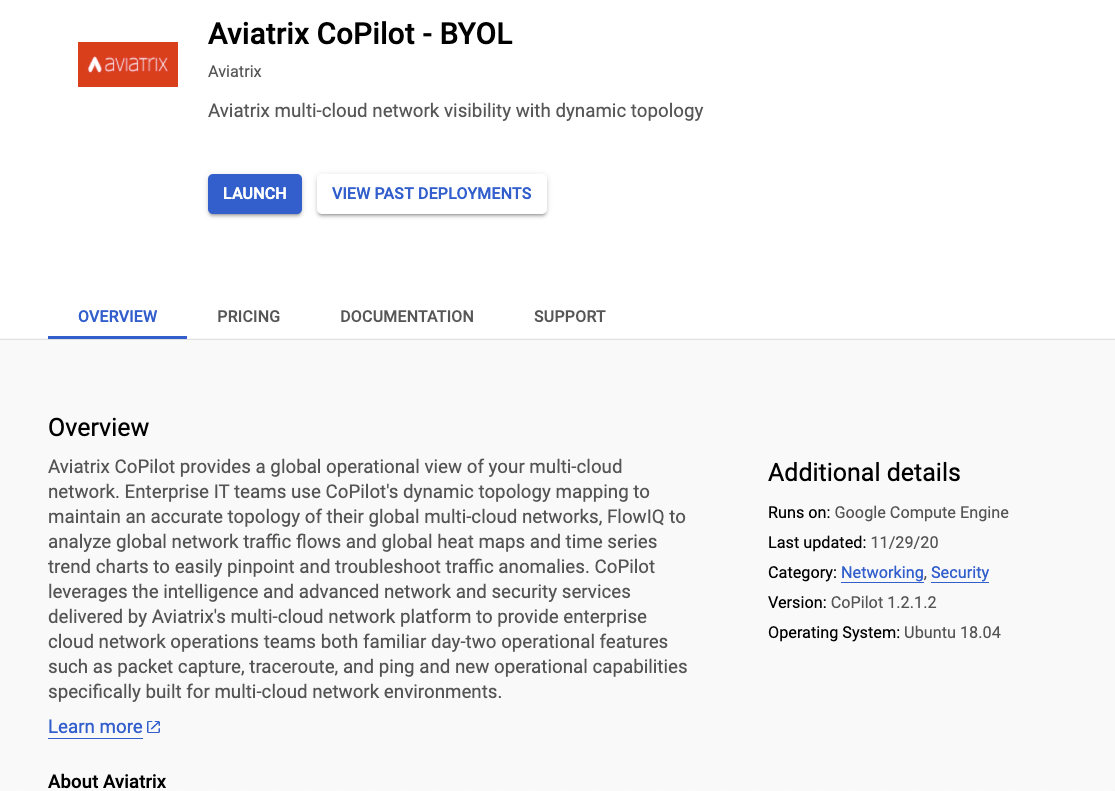
Go to GCP marketplace.
-
Find the product "Aviatrix CoPilot - BYOL".
-
Click "LAUNCH".

-
Specify the settings for the CoPilot instance
-
For Machine type, take note of the Minimum Instance (VM) System Requirements for CoPilot.
-
You must attach at least one data disk (data volume) to your CoPilot instance to be used for expandable storage; this is a secondary data storage separate from the root disk that comes with CoPilot. For more information, see CoPilot Disk (Volume) Management. Create your disk (volume) and attach the disk (volume) to your CoPilot instance. You can choose the disk type (volume type) that meets your business needs given the size of your environment and performance requirements. There is no minimum requirement for the storage you add at this stage.
-
For source IP ranges for traffic, see Instance (Virtual Machine) System Requirements for CoPilot.
-
-
Click "Deploy".
-
Go to your Controller instance in your cloud service provider. Add your CoPilot IP address into your Controller security group with TCP protocol and port 443 on the cloud service provider so that CoPilot server can communicate with Controller API.
-
You are now ready to launch CoPilot in a web browser or from the Aviatrix Controller homepage and perform initial setup. See Initial Setup of CoPilot.